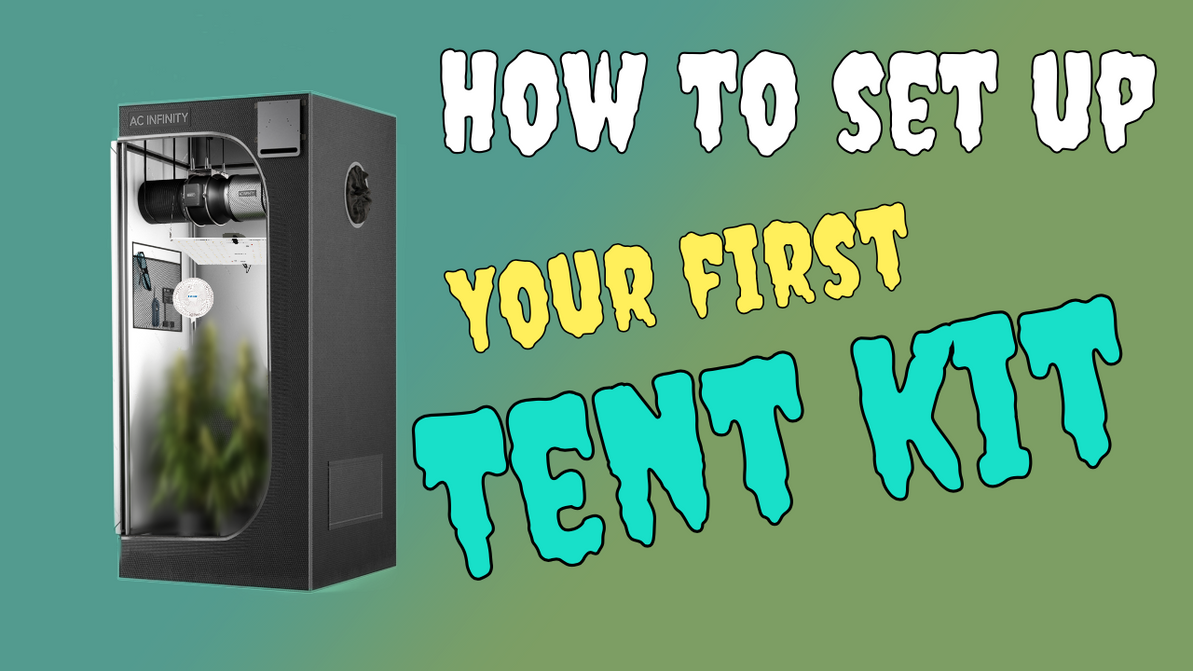
2'x2' Tent Kit Install Tutorial
One of the most frequent questions we get asked by new customers is "How do I set my tent up?", and there is not always a "one size fits all" answer to that. That's why we decided to make a video on how to install a tent kit, specifically the 2'x2' starter tent kit we offer. This video goes over the basics on how to assemble a basic grow tent, how to install your light, different ways to go about your ventilation and more. We're going to breakdown each component of the video, and hopefully provide some clarity when it comes time to set your your new grow space.
0:00 - 1:02 This part of the video is a basic introduction, giving the overview of the key points we will be hitting in the video, giving you an idea of what will be covered and what you may need to consider.
1:04 - 3:06 In this portion, we discuss the 4 consideration you should think about in terms of where you want to put your grow tent.
3:12 - 4:20 Now we introduce our good pal Stinky (no, he's not a racoon) talks through what Doug and Justin are doing when putting together the tent itself. It starts with assembling to poles for the base, then putting the corner poles going vertically, to then assembling the top of the tent. Then the shell of the tent is stretched over the poles, from bottom up, to complete the tent as one piece. Lastly, don't forget to put the flood tray in, that extra layer of protection and and will come in handy.
4:36 - 10:17 Now we get into installing the AC Infinity T4 ventilation system. First, Justin puts the controller's mounting plate on the tent, which simply slides in the grooves and sits ready. Then its as easy as putting two screws in the controller, mounting it to the plate, and the controller is installed.
Next we go over a VERY IMPORTANT decision on how, and where to install your ventilation system (the fan as well as the carbon filter). You can hang the T4 inline fan inside the tent, alongside the carbon filter, and do a "pull through" exhaust system. This is when the air is pulled through the carbon filter, then exits out the fan and using tubing, goes out of the tent. The other option that we personally prefer is a push through system, in which you install the fan and filter outside of the tent. You use tubing to go inside a porthole in the tent, connect that to a fan, and then have the fan push the air through the carbon filter, out of the environment. This method saves you about a foot of headspace in your tent, and new growers will soon learn that every inch of extra space you can have is worth its weight in gold.
Please note the arrows on your T4 Inline fan, as they're going to tell you which direction the air will flow. Installing it backwards will have air flow into the tent, rather than exhaust air out. We've done it before, very easy error to avoid, so please learn from our mistakes!
10:21 - 10:46 The next portion of the video goes over installing the LED into your grow tent. This is a relatively simple process, done using the included hardware and ratchet straps to adhere it to a pole on the top of the tent. One variable to think about is how high you want the light to hang, because you don't want it too close (say around 12 inches from canopy), nor do you want it too far (28+ inches from the canopy). Being able to mock up a pot in your tent will give you a good idea of where you want your light's height to be initially.
10:48 - 13:22 The AC Infinity inline fan's controller runs off of a sensor probe you put in your environment, to get an accurate reading of your temperature and humidity. Organizing your wires and cables is always a plus, as they won't get in the way and give your grow a clean start.
The video wraps up there, but if you have any questions about anything we did not include, feel free to give us a call, hit us up on social media, and we will be happy to answer them for you!
Recent Posts
-
A Brief Overview of Grow Light Maintenance
Growing plants indoors requires efficient tools and great dedication. If the grow lights are produci …Apr 19th 2024 -
4 Important Benefits of Hydroponic Gardening
The traditional approach of gardening is taking a backseat to hydroponics. Rather than growing in so …Mar 26th 2024 -
4 Telltale Signs of Mildew on Cannabis Plants
One of the biggest antagonists to growers is mildew. Plants stuck in environments with high humidity …Feb 22nd 2024


